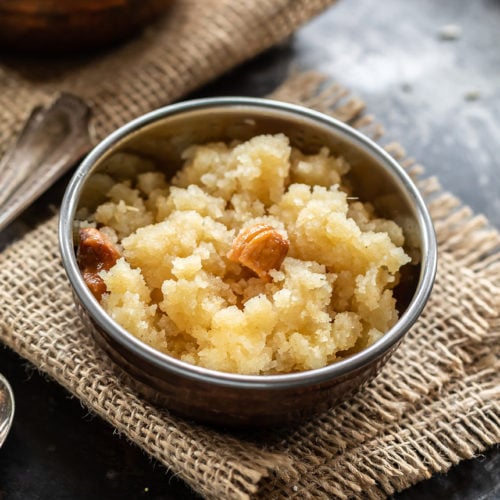
Saffron Semolina Halwa (Sooji ka Halwa)
Proud moment — I made perfect Sooji ka Halwa in my Thermomix today.
This dish takes me straight back to childhood — the aroma of ghee, the sound of semolina being roasted, and that first spoonful of warm, sweet comfort after Puja. Sooji ka Halwa has always been more than just a dessert in our home; it’s a symbol of offering, gratitude, and shared joy.
Growing up, I remember watching my mum patiently stirring the halwa, never leaving the pan for even a second — it needed constant attention and love to get that perfect texture. It was a true labour of devotion, just like the Puja itself.
Today, making it in my Thermomix felt like bridging tradition and technology. The same taste, the same warmth — but without the endless stirring! On auspicious days like Diwali, it feels extra special to prepare something so sacred with ease, knowing that the spirit behind it remains unchanged.
Ingredients
-
625 g water (2 ½ cups)
-
120 g milk (½ cup)
-
250 g sugar (1 ¼ cups)
-
½ tsp saffron strands
-
140 g ghee
-
260 g coarse semolina (1 ½ cups)
-
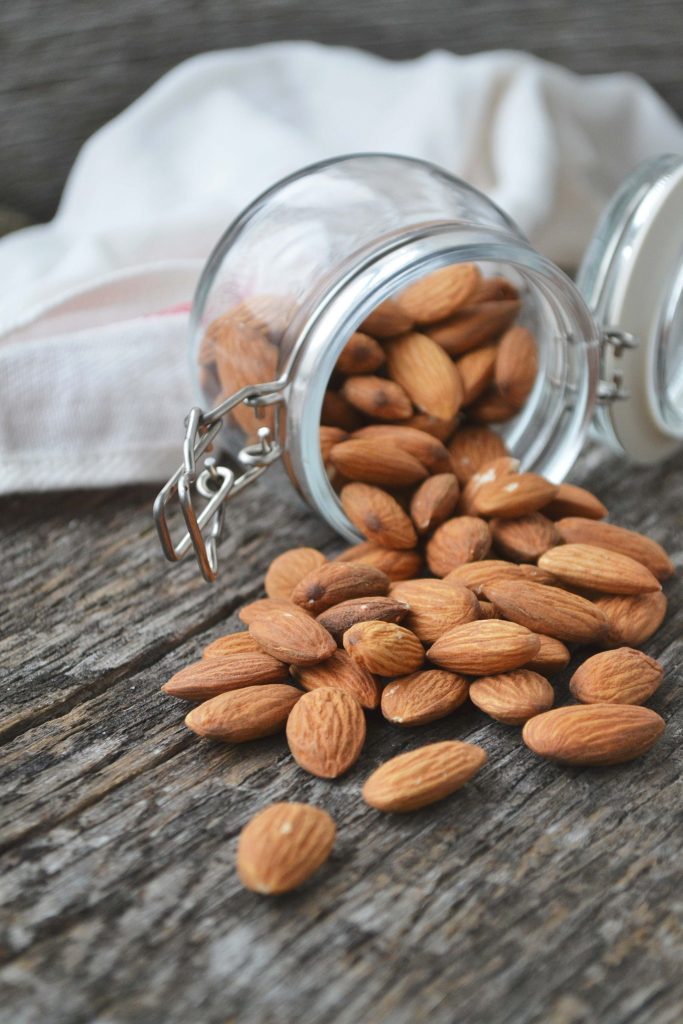
50 g flaked almonds, toasted (½ cup)
-
1 tsp ground cardamom
-
50 g sultanas (⅓ cup)
Instructions
-
Prepare the syrup
-
Add water (625 g), milk (120 g), and sugar (250 g) to the mixing bowl.
-
Heat 8 min / 100°C / speed 2, or use Kettle Mode (TM7) until the mixture reaches a rolling boil.
-
Carefully pour into a ThermoServer, add saffron strands and sultanas, stir, cover and set aside to infuse.
-
-
Roast the semolina
-
Rinse and dry the mixing bowl thoroughly.
-
Add semolina (260 g). With the measuring cup (MC) off, roast 8 min / Varoma / speed 2.
-
Scrape down the sides and roast for a further 8 min / Varoma / reverse / speed 2 until aromatic and lightly golden.
-
-
Add ghee
-
Add ghee (140 g) to the bowl and mix 20 sec / speed 7 to combine.
-
Continue roasting 20 min / Varoma / speed 2 until the mixture darkens slightly and releases a nutty aroma.
-
-
Combine syrup and flavourings
-
Set the Thermomix to Varoma / reverse / speed 1 / 2 min.
-
Gradually pour the hot syrup with sultanas through the lid opening while mixing.
-
Add ground cardamom (1 tsp) and flaked almonds (50 g) during this step.
-
Continue mixing until the halwa thickens and comes together.
-
-
Rest and serve
-
Transfer the halwa into a pre-warmed ThermoServer, cover and rest for 5 minutes to allow it to set.
-
Serve warm, garnished with extra nuts if desired.
-
Tips
Preheat your ThermoServer with boiling water to keep the syrup and halwa hot.
Adjust the sugar or ghee quantity to suit your taste.
You can substitute almonds with cashews or pistachios for variation.


